What Goes on the Slab? How to Decide Who—and What—Gets Included in Multi-Trade Layout
%20(2).png)
Multi-Trade Layout is a powerful workflow for moving information from the model to the jobsite. But it’s not about printing everything for everyone.
If you’re leading this workflow and defining the scope of layout, the first decision you need to make isn’t “What do we print?”
It’s: “Which trades are participating in the Multi-Trade Layout?”
Start by deciding: Which trades will be included?
This is the single most important scope decision you'll make.
The trades you involve in the Multi-Trade Layout workflow determine everything downstream — who participates in coordination, what gets printed, and where layout delivers the most value.
So how do you decide? Your typical Multi-Trade Layout team will include some or all of these players:
- General Contractor
- Framing / Drywall
- Mechanical
- Electrical
- Plumbing
- Fire Protection
- Any trade installing prefabricated assemblies or major equipment (lab or healthcare equipment, industrial or conveyance equipment, data center racks or HAC, casework, etc.)
But every team is a little different. Here are some signposts you can use to make sure you’re bringing together the right team for your project:
- Does the trade normally perform layout in the first place? Start with the obvious.
- Is the trade already involved in VDC coordination? If not, they’ll need to be. Does the trade have that capability? If not, can they bring in a BIM partner to fill that gap?
- Are there contractual considerations? If a contract is already in place, is it aligned to Multi-Trade Layout? If not, you’ll need to open a conversation about changing the contract—the sooner the better. We’ll be looking at roles, responsibilities, and contracts later in this series.
Remember: This isn’t about printing more for the sake of it. It’s about aligning early around a shared workflow—so layout becomes a team effort, not a series of isolated tasks.
Strategies for recruiting trades to the Multi-Trade Layout workflow
You should be sensitive to the possibility that not all trades may initially want to do Multi-Trade Layout. Objections include:
- Perceived loss of control over what is traditionally understood as their scope of work
- Perceived risk that they’ll be held accountable for mistakes by others
- There’s enough to worry about already without having to figure out a new workflow
- Concern that robots are taking jobs from their people
As a GC, you have a few strategies for overcoming objections and aligning trades to the multi-trade workflow.
1. Make it a requirement
Require Multi-Trade Layout in your bid docs for the trades you want involved. We’ll be sharing tactical advice and template language in our upcoming blog post on bid and contract documents for Multi-Trade Layout. This approach has the advantage of being both familiar and straightforward — trades aren’t strangers to the idea that if they want to be part of a given project, they need to align to the way the GC wants to work. On the other hand, if you want trades to engage with the process enthusiastically — rather than reluctantly — you may need to put in a little more effort.
2. Leverage an experienced trade
If any of the trades involved in the project have experience using Dusty or doing Multi-Trade Layout — that’s gold. Ask for that trade’s help and leadership in aligning other trades to the new workflow. Bring trades together for a demo print. Be prepared to answer questions.
3. Leverage Dusty
Even if all project stakeholders are new to Multi-Trade Layout, you have a partner in helping the team to understand what you’re trying to accomplish — Dusty Robotics. This blog series is a great place to start for material that will help you communicate the workflow. Dusty’s team of experts is also on-tap to help you set up a Q&A session and software demo with VDC teams, or an on-site demo of the technology.
4. Start Small
If we’ve seen it once, we’ve seen it a hundred times: A project is already underway. The GC wants to implement Multi-Trade Layout. But the trades simply aren’t willing. They see the risks around an unknown workflow and a new technology as too great. In cases like these, patience pays. Start with a single trade and get the technology out on the jobsite. As other trades get exposed to its capabilities, its reliability, and its potential for compressing schedules, reducing rework, and improving field coordination, you’ll be surprised how quickly opinions change. At Dusty, we’ve seen lots of projects start out using Automated Layout for one trade—but by the time they get to the third floor, it’s a full-on Multi-Trade process.
Then define: What information will each trade include in their layout?
Multi-Trade Layout relies on Automated Layout — the use of a robot to transcribe the layout onto the floor. This technology, invented by Dusty Robotics, isn’t just about replacing the chalk box with a robot. It’s an opportunity to completely rethink what layout is.
“Layout is how we communicate design information to the craft.”


Instead of trades each producing their own layout manually at different times, using different source information, and referencing different control — Multi-Trade Layout delivers a coordinated, model-based layout all at once. It shows:
- Exactly where the work goes
- How it relates to other scopes
- And all information needed to build it right the first time
It’s field coordination, made visible. With that in mind, what information should be included? Here’s a list of commonly-included elements:
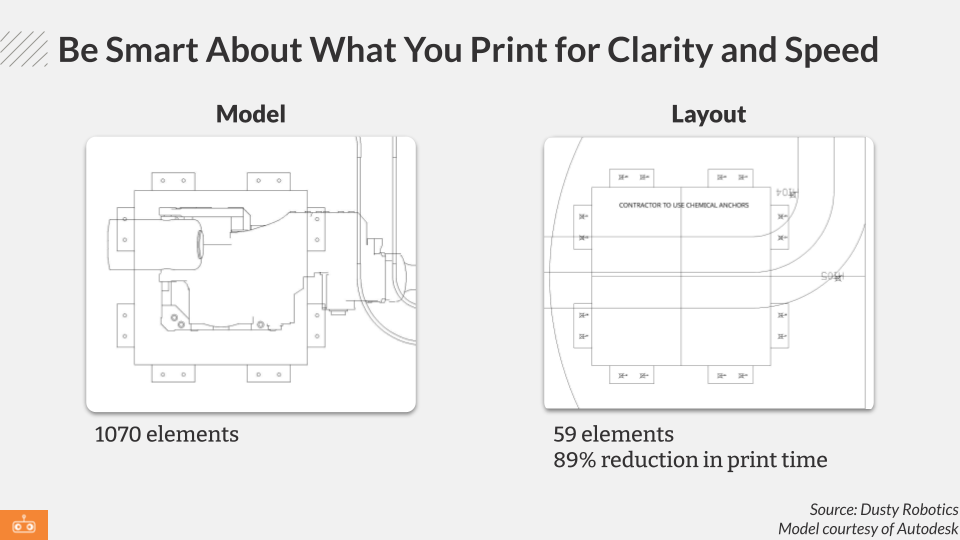
Key principle: Print what helps the field install faster, with less risk
The power of Automated Layout technology is, anything in the model can be printed. But that’s also the potential pitfall — because the field doesn’t need everything in the model.
“You can have Dusty print the threads on conduit if you really want. It’s not productive to do that. There’s a fine line in the level of detail you want to include — what level of information is needed for the guys in the field to be productive.”


Including the wrong information in your layout can extend print times without any meaningful benefit for the field. In fact, it might hurt. Unneeded information clutters the layout and reduces its power as a communication tool.
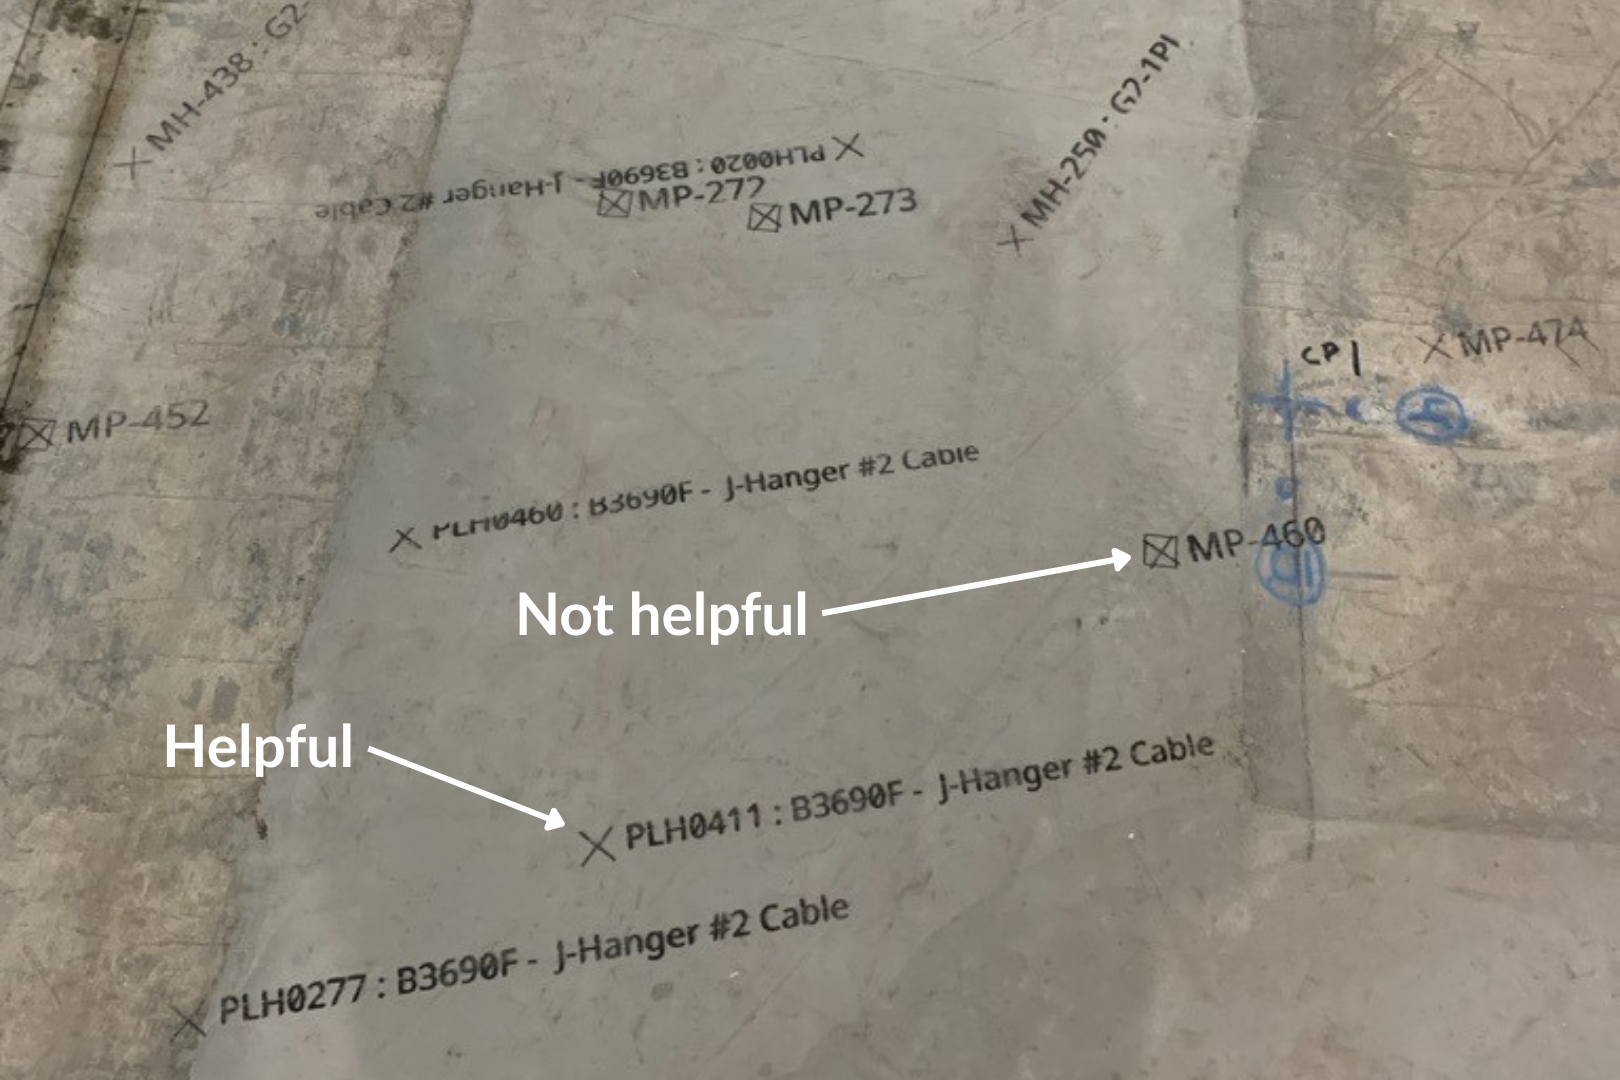
Human-readable wins the day
It’s a common mistake to label points and devices with text tags that read like serial numbers. That approach gives field professionals a point to install to — but still forces them to go to the plans to look up the tag. Save them the time. Print a human-readable description of the point instead, and provide them everything they need to find the part and install it right there in the layout.
Make it intentional. Make it visible. Make it work.
The best Multi-Trade Layouts are clean, accurate, and purposeful. They turn the model into a shared field asset — something every project stakeholder, from the owner to the trades, can use and trust.
And it all starts with a decision: Who gets included — and what information do they need to build right the first time?
Getting it right will ensure the team gets the most value from the Multi-Trade Layout workflow.
Catch up on our series
This article is #4 in our deep-dive series on best practices for the Multi-Trade Layout workflow powered by Dusty. If Automated Layout is the technology, Multi-Trade Layout is the process, and this series is all about how to do it right. Catch up on the rest of the series below.
Foundations
#1: The Bottleneck That's Costing You Time, Money, and Trust. What's wrong with traditional layout in modern construction?
#2: Multi-Trade Layout: The Construction Workflow That Changes Everything. An introduction to Multi-Trade Layout, how it works, and how it's different.
Workflow Strategy
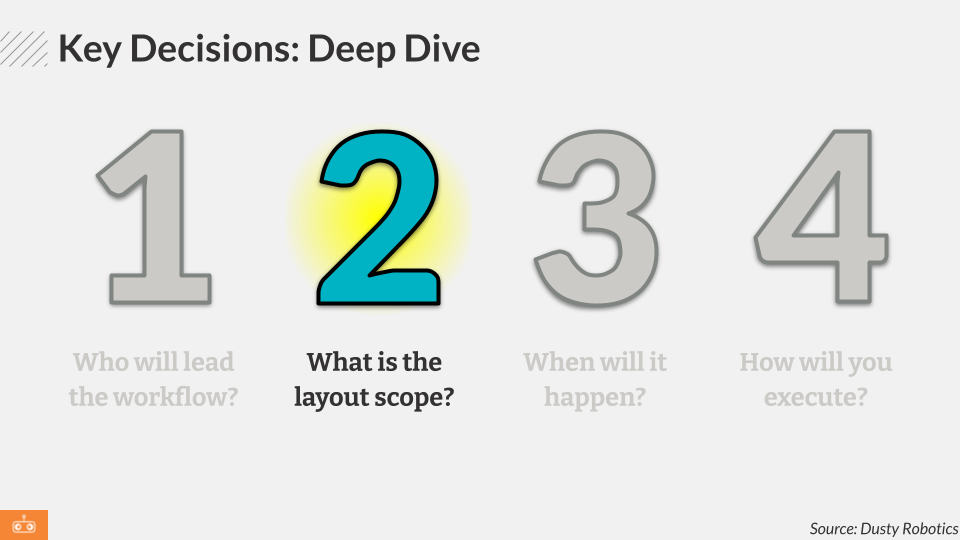
#3: Four Decisions Every GC Needs to Make to Implement Multi-Trade Layout. Who leads the workflow? What’s in-scope for Multi-Trade Layout? When will all this happen? How will you execute?
#4: What Goes on the Slab? How to Decide Who—and What—Gets Included in Multi-Trade Layout. (You're reading it!) How to decide what trades to involve. Reimagining what layout can communicate. Deciding what to print.
#5: When Does Layout Start? Earlier Than You Think. How to schedule for Multi-Trade Layout — and what to do when the job is already underway.
Implementation
#6: Inside Multi-Trade Layout: Who Does What, and When. Roles and responsibilities. Who does what, and when.